How to install the HPR cartridge for HPRXD systems
The Hypertherm HPR® cartridge represents a revolutionary change to traditional mechanized plasma consumables. Standard HPR consumables include five different parts – the electrode, swirl ring, nozzle, nozzle retaining cap, and shield. The HPR cartridge is a single-piece consumable that replaces the five standard HPR consumables, enabling faster changeovers, reducing downtime, and eliminating stack-up errors.
The HPR cartridge upgrade also includes a new torch body, water tube, and retaining cap. The new torch body fits seamlessly into existing HPRXD receptacles, so no system modifications are required to begin using HPR cartridges and the new torch body.
This video is a short overview of HPR cartridge installation and basic operation.
Installing the HPR cartridge integration into existing systems
The HPR cartridge is designed to be easy to install and use.
-
The torch body fits directly onto an existing HPRXD torch receptacle. You do not need to modify your HPRXD system to use the upgraded torch and cartridge.
-
The cartridges are easy to install in the torch. There are no tools required for installation.
-
The new torch and consumables use the same setup cut chart parameters as the traditional HPR processes for each amperage.
-
There are no special processes to select on your CNC or in your nesting software. Just install the new torch with the HPR cartridge and continue your current workflow.
HPR cartridge installation
The torch starter kit includes all the components you need to start cutting with the HPR cartridge except the cartridges. The HPR cartridges are sold separately. The torch starter kit contains a postcard with directions on how to install the cartridge as well as a scannable QR code that will take you to this video and a link that will take you to the HPR Cartridge Instruction Manual. Keep this postcard nearby when you are ready to install the new torch.
To begin installation, remove the components from the torch starter kit. It is important to note that the O-rings are pre-lubricated in the torch starter kit, so you do not need to lubricate them before assembly. This is true only for components that come in the HPR cartridge torch kit. If you order any of the parts separately, the O-rings are not lubricated and will need to be lubricated before installation.
Install the water tube in the same manner you use to install all standard Hypertherm water tubes. Push the water tube in the torch until it stops. The water tube will move slightly to align with the electrode in the cartridge.
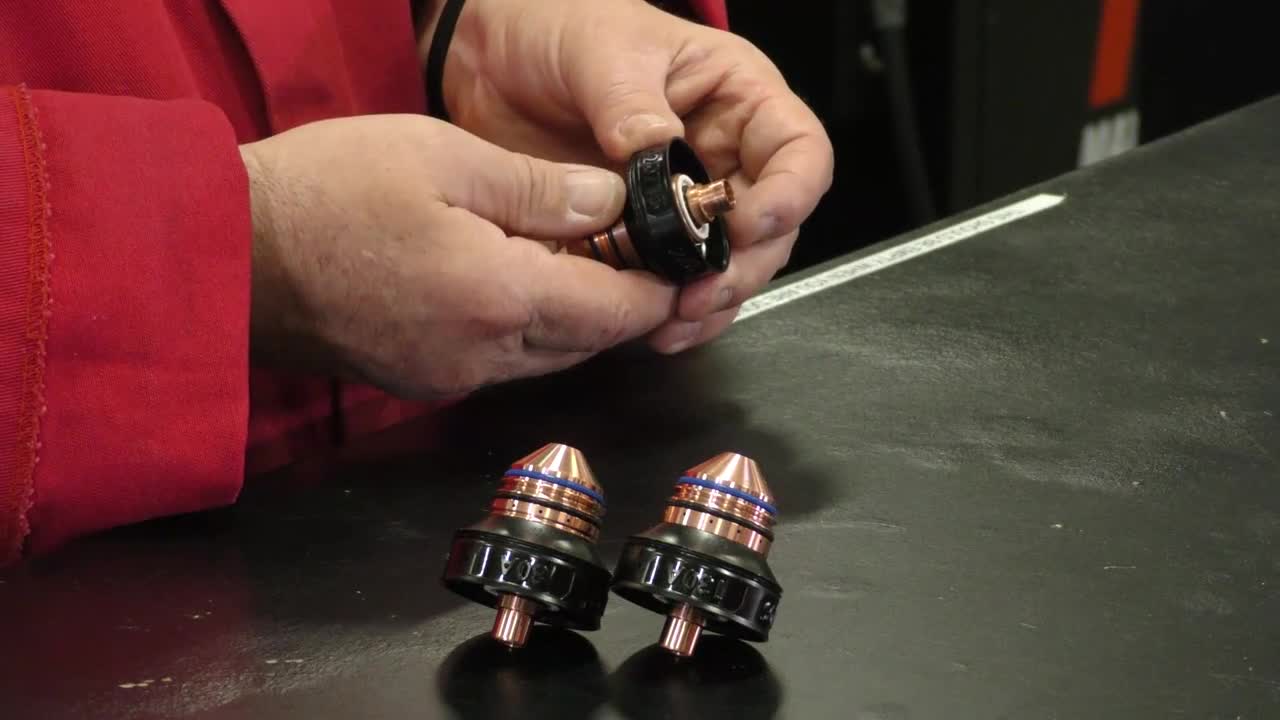
Next, select your desired cartridge. Install the cartridge by pushing it on to the torch until it stops. Install the retaining cap onto the torch. Turn the retaining cap until it comes to a stop. The retaining cap moves the cartridge into the correct position on the torch to seal the O-rings. It will turn approximately one-half of a rotation before it stops. Make sure the retaining cap is fully installed. A coolant leak at the torch electrode can occur if the retaining cap is not fully installed. If installed properly, there should be almost no gap between the cap and the torch.
The torch is now ready for installation onto the torch receptacle. Before installing the torch on the HPRXD receptacle, disconnect the electrical power from the cutting system. Set the line-disconnect switch to the OFF position and make sure the power-indicator LED is not illuminated on the plasma power supply. Install the torch on the HPRXD receptacle. The cartridge torch has the same installation steps as the standard HPRXD torch.
Testing the system
After the torch installation is complete, perform a test cut to ensure everything is operating effectively.
When the HPRXD is powered up, an automatic gas purge cycle will start. During this purge, verify that there is no coolant mist coming out from the end of the torch. If you don’t see any mist, the torch is ready for cutting. Typically, this purge cycle is enough to clear any moisture that may be present, but the cartridge contains more cavities than traditional consumables and sometimes requires an additional purge.
If you see mist, select “Test Cutflow” on the CNC and do a gas purge for an additional 15 seconds. While purging, check for coolant mist again. If you don’t see any mist, the torch is ready for cutting.
If you continue to see mist, do the following steps:
-
Disconnect the electrical power from the cutting system.
-
Remove the retaining cap and cartridge. Gently shake them to remove coolant.
-
Examine the electrode O-ring in the cartridge to ensure it is not contaminated or broken.
-
Check the lubrication on the O-rings on the torch, cartridge, and retaining cap. Apply lubricant if required.
-
Install the cartridge on the torch and turn the cartridge approximately one-eighth of a rotation to ensure the O-rings seal onto the torch.
-
Install the retaining cap on the torch. Make sure that the retaining cap is fully installed to prevent a coolant leak at the torch electrode.
Power the cutting system. Power restoration will start the automatic gas purge cycle. If you no longer see mist, the cartridge is ready for cutting. If the mist continues, refer to the HPR Cartridge Instruction Manual for further troubleshooting steps.
Remember, there are no special processes to select on your CNC or in your nesting software. Once you install the new torch with the HPR cartridge, you can continue cutting using your current workflow.
HPR cartridges replace five-piece consumable stack-ups with one easy-to-install cartridge, making consumable management significantly easier. Operators do not have to keep track of five different consumables that wear at different rates or take time during assembly to carefully ensure components are oriented properly. Replacing the cartridge takes 10 seconds and requires no tools. This revolutionizes consumable management, enabling faster consumable changeovers and eliminating stack-up mistakes that result in expensive rework, plate damage, and torch and consumable failure.
Please see the HPR Cartridge Instruction Manual (810992) for more information on torch and cartridge installation, use, and maintenance.