Powermax SYNC: Green is for gouging
by
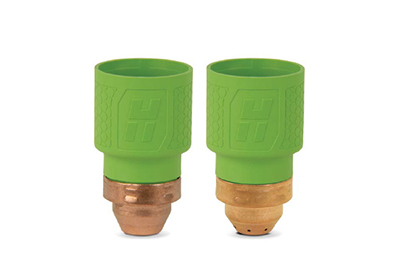
Though often called plasma cutters, air plasma systems like our Powermax SYNC® series are great at gouging. Gouging with a Powermax SYNC requires a green cartridge consumable. Whether you need to remove a little material or a lot, here’s how to get the best results.
First, choose and install the correct gouging cartridge. As mentioned above, all of our gouging cartridges are green. We make four different cartridge types designed for different gouging profiles and amperages.
Max removal cartridges are designed for removing lots of metal. Use these to create deep and / or wide gouges.
Max control cartridges, as you might guess from the name, offer you more control. These are good for removing small amounts of metal including spot welds. If you are new to gouging, we recommend that you start with these.
Gouging cartridge types
|
Style |
Amperage |
Part number |
|
Max removal |
105 amp 45-85 amp |
428938 428932 |
|
Max control |
105 amp 45-85 amp |
428939 428933 |
Although you can use our gouging cartridges with either a handheld torch or on a machine, such as a CNC table or track burner, this article will only focus on the technique for handheld gouging.
Once you’ve selected and installed the correct cartridge, you can turn on your power supply and move the lock switch on your torch to the green ON position. As soon as you do this, the cartridge will automatically select the correct amperage and put the system into gouging mode.
Next put on your gloves, eye protection, and any other required personal protective equipment. You are ready to gouge!
Pick up your torch and hold it at a 40-degree angle to the workpiece. Unlike cutting, when it is okay to touch the workpiece, you want to hold the torch so the tip of the cartridge is 6 to 12 mm (1/4″-1/2″) away from the metal you plan to gouge.
Next, move the black safety switch out of the way and press the red trigger. This will create a pilot arc.
Wait a second while the arc transfers to the workpiece and then pull your torch back, away from the workpiece, so the arc is about 32 mm (1-1/4″) long.
You can now start to create your gouge by pushing the torch forward, away from your body. The type of gouge you create—deep and narrow, shallow and wide, etc.—will depend on your torch speed, angle, distance from the workpiece, and amperage.
-
Speed: Move your torch faster for a shallow and narrow gouge; slower to make a deeper and wider gouge.
-
Angle: Tilt your torch closer to horizontal for a wider and shallow gouge; more vertical for a narrow and deep gouge.
-
Distance: Hold your torch closer to the metal for a narrow and deep gouge; further away for a shallow and wide gouge.
-
Amperage: Decrease the amperage for a narrow and shallow gouge, increase it for a wider and deeper gouge.
You can even employ a combination of the above techniques to achieve the gouge profile you want, however, no matter which technique you use, always maintain some distance between the tip of the cartridge and the workpiece. If you move your torch too close, molten metal could splatter onto the cartridge and damage it.
Learn more about Powermax SYNC

Related products
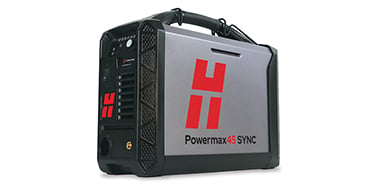
Powermax45 SYNC plasma cutter
For metal workers who want the most versatile system available to gouge, cut, and mark, the Powermax45® SYNC delivers the best return on investment. Part of the Hypertherm® Powermax® family, Powermax45 SYNC features built-in intelligence, a patented single-piece cartridge, and up to 5 times longer consumable life and greater cutting power than higher-amperage competitors.
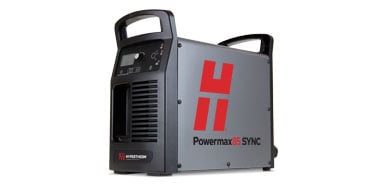
Powermax85 SYNC plasma cutter
Professional-grade 25 mm (1″) plasma cutter provides automated process set-up and a revolutionary cartridge consumable platform for ease of use and optimized performance. Featuring a wide variety of torches and application capabilities for handheld and mechanized cutting and gouging.
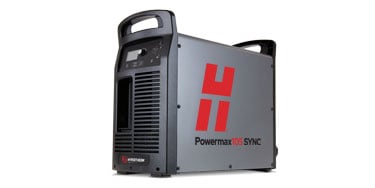
Powermax105 SYNC plasma cutter
Professional-grade 32 mm (1-1/4″) plasma cutter provides automated process set-up and a revolutionary cartridge consumable platform for ease of use and optimized performance.